Adding Advanced TomTom Mapping Features to a Modern Vue + Quasar App
Learn how to add a search function, then use Calculate Route to calculate and display a map route

We love maps. We love data. We love developers.
Geolocation-based applications help users find locations, keep track of places, and visualize these locations on a map. TomTom Maps API and SDK have made it easier for developers to build these web applications with various mapping services accessible on different devices.
In this tutorial, we'll build a Quasar application to help users search and track the route to a particular location. We'll use TomTom’s Search API, Routing API, and Matrix Routing Service.
You should be familiar with JavaScript and Vue, but you don’t need Quasar experience to follow this tutorial. Feel free to check out our other article, Adding TomTom Maps to a Vue + Quasar App.
PREREQUISITES
First, ensure Node is on your local development machine. Check if you have it by running this command in your terminal:
node –v
If you don’t have Node, download it. Also, install the Quasar CLI if you don’t already have it.
You’ll also need a TomTom developer account. You get thousands of free requests daily, even for commercial applications. Just pay as you grow!
SETTING UP THE PROJECT
We’ll set up the Quasar application. First, create a new Vue project using the Quasar CLI:
quasar create route-tracker
This command creates a prompt for you to add details about the project and the suitable development environment. Once the application is successfully created, the Quasar CLI displays the command to change into the newly-created directory. Run this command to start your application:
quasar dev
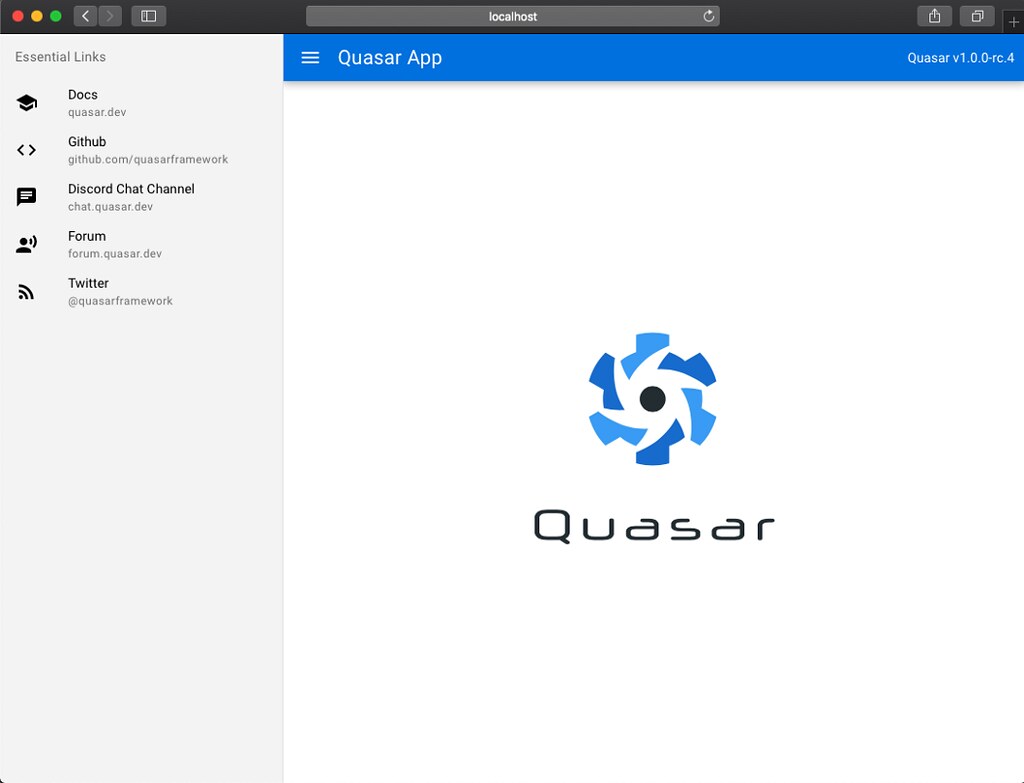
The result should look like this:
Next, we set up TomTom in our application by installing the required Map SDKs and APIs. So, we’ll install TomTom’s services:
npm install @tomtom-international/web-sdk-maps @tomtom-international/web-sdk-services
Then, install the Maps SDK:
npm i @tomtom-international/web-sdk-maps
You will need to use your TomTom API key in this project. Here's a simple guide to create one for free — no credit card required.
CREATING THE LAYOUT
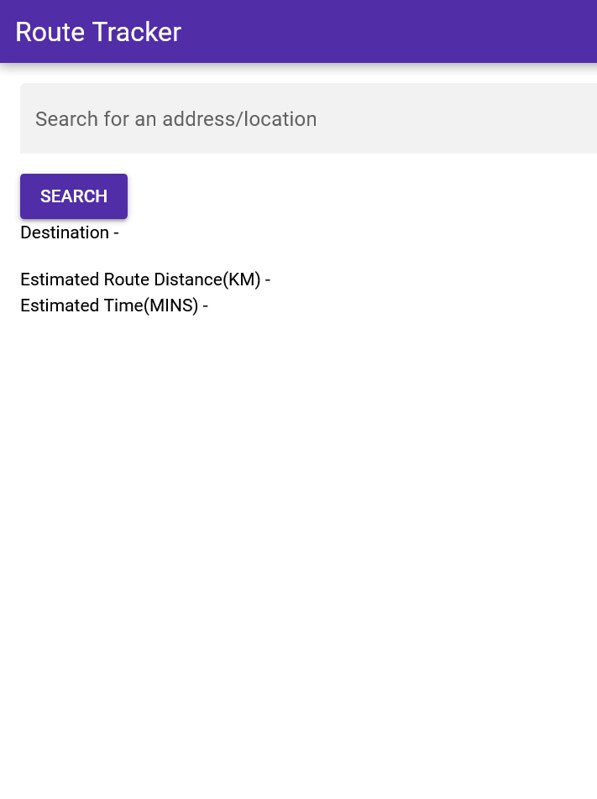
The application layout includes a search bar to search for places, a map container to display the map, and the results, which display the calculated distance and time respectively. This image demonstrates the UI layout:
Add this code to the template section of the MainLayout file:
<q-layout view="lHh Lpr lFf">
    <q-header elevated>
      <q-toolbar class="bg-deep-purple-8  text-white">
        <q-toolbar-title >
          Route Tracker
        </q-toolbar-title>
      </q-toolbar>
    </q-header>
     <q-page-container>
     <!-- To handle the search for location -->
      <div class="q-pa-md" >
    <q-form  class="q-gutter-md" >
      <q-input filled v-model="locationQuery" label="Search for an address/location"/>
      <div>
        <q-btn label="Search" type="submit" color="deep-purple-8"/>
      </div>
    </q-form>
    <div>
    <!-- To display the result-->
      <p>Destination -  {{routeAddress}} </p>
      <p> Estimated Route Distance(KM) - {{destinationDistance}}
        <br>
           Estimated Time(MINS) -  {{timeToDestination}}
      </p>
      <p>
        {{errorMessage}}
      </p>
    </div>
    </div>
    </q-page-container>
  </q-layout>
This code creates the application’s user interface (UI) layout.
DISPLAYING A MAP
TomTom Maps APIs enable us to display maps in the application. We can also style our maps to our liking.
Index.template.html, include the CSS stylesheet to handle the maps:
<link rel='stylesheet' type='text/css' href='https://api.tomtom.com/maps-sdk-for-web/cdn/6.x/6.13.0/maps/maps.css'>
Also, import the tt object the index.template.html in the Quasar application. This object represents the object library to access everything related to TomTom maps and services.
import tt from '@tomtom-international/web-sdk-maps'
We create a mapDisplay.vue file in the components folder to handle this section. This component will display the map in our application. Then, we add the map container layout to the mapDisplay.vue file:
<template>
        <div id='map' class='window-height'></div>
</template>
Next, we create a function to display the map and add it to the mapDisplay.vue file:
displayMap(){
            const map = tt.map({
            key: "8h504Wc4AXL6OPndqhrtKf70AovVBL3V",
            container:'map', // Container ID
            style: 'tomtom://vector/1/basic-main',  //the specified map style
        });
        map.addControl(new tt.FullscreenControl());
        map.addControl(new tt.NavigationControl());
        const location = [this.longitude,this.latitude];
        const popupOffset = 25;
        const marker = new tt.Marker().setLngLat(location).addTo(map);
        const popup = new tt.Popup({ offset: popupOffset }).setHTML("Your Destination");
        marker.setPopup(popup).togglePopup();
       }
Then, we call the function to display the map in the mapDisplay.vue file using the mounted() lifecycle method:
mounted() {
        this.displayMap()
     }
INTEGRATING THE SEARCH API
TomTom's Search API performs various functions such as fuzzy search, autocomplete, geocoding, and reverse geocoding.
FUZZY SEARCH
We’ll mainly focus on the fuzzy search, which searches for addresses and places like hospitals, bars, and restaurants. We can also restrict the search to a particular region or geometry.
The query’s result gives a detailed description of the location that matches the specific query text partially.
To implement fuzzy search, start by importing the tt object from the SDK in MainLayout.vue:
import tt from "@tomtom-international/web-sdk-services";
Then, in MainLayout.vue, create the form to handle the search:
<div class="q-pa-md" >
    <q-form @submit="SearchAndCalculateRoute()" class="q-gutter-md" >
      <q-input filled v-model="locationQuery" label="Search for an address/location"/>
      <div>
        <q-btn label="Search" type="submit" color="deep-purple-8"/>
      </div>
    </q-form>
Next, create a function to handle the search:
const _this = this
      // Using the fuzzySearch service
    await tt.services.fuzzySearch({
      key: 'INSERT API KEY HERE',
      query: this.locationQuery //The input gotten from the search
    }).then(function (response) {
      _this.routeAddress = response.results[0].address.freeformAddress
      _this.routeLatitude =  response.results[0].position.lat
      _this.routeLongitude = response.results[0].position.lng
    })
This code performs the search function and displays the address’s first result while storing the latitude and longitude to use in the other services.
We can also add the bounding box parameter to refine the search. The bounding box is a limited area within the search results, and without it, the search considers the whole world. This parameter accepts longitude and latitude values of the place to search.
<!-- Display the result of the search -->
<p> Destination -  {{routeAddress}} </p>
POINT OF INTEREST SEARCH
Another feature that we’ll add to our map is the ability to find specific places around the location searched for. We do this using Points of Interest Search, a service provided by TomTom that enables us to find a specific type of place, like restaurants, arts centers, or even transit stations.
We’ll implement this in the mapDisplay.vue file to display the places on the map. As an example, we’ll search for nearby gas stations. To implement fuzzy search, start by importing the tt object from the SDK in MainLayout.vue. The tts object is imported in the mapDisplay.vue:
import tts from "@tomtom-international/web-sdk-services";
Then, a function is created to call the service when the map has been rendered on the page:
tts.services.poiSearch({
            key: 'INSERT API KEY HERE'
            query: Gas Stations,
            center: [ _this.latitude, _this.longitude ]
            })
            .then(function(data) {
              _this.stations = data.results})
              .catch((err) => {
                console.log(err)
            });
The service requires an API key, a query that represents the place to find, and a center location. These parameters are required for its function. The center location is based on the position gotten from the fuzzy search we did earlier. With this, we’re able to find the various gas stations at the location we searched for.
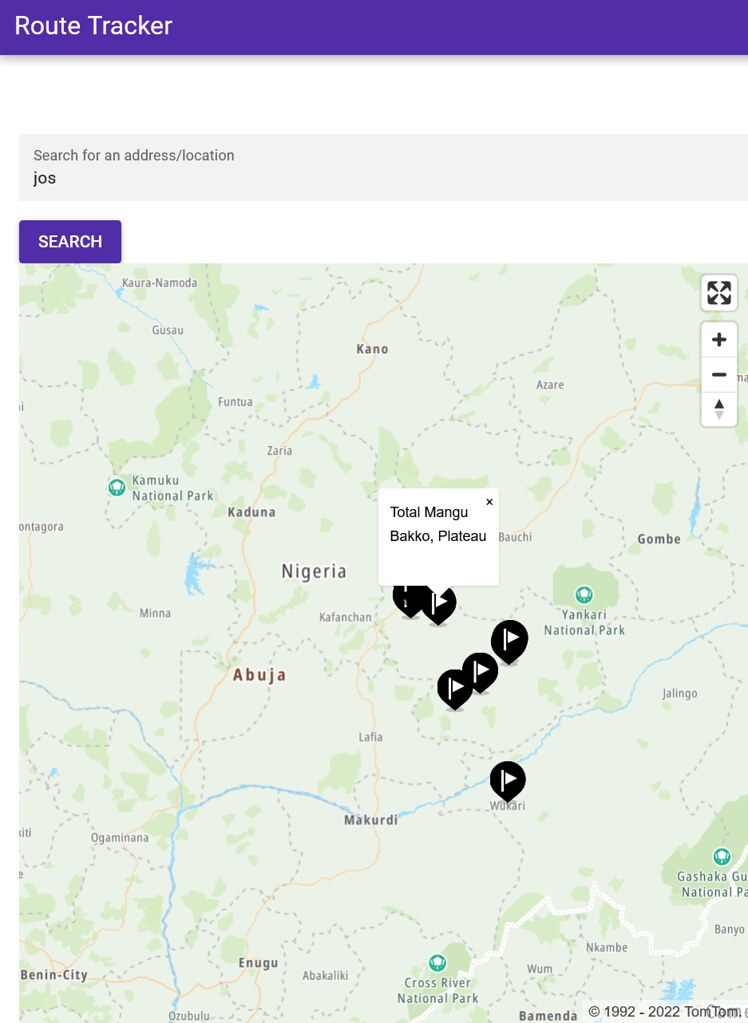
Next, we use the result of the gas stations found and display them respectively on our map.
// looping through the result to get the value of each location
       this.stations.forEach(function (e) {
                const popupOffset = 25;
                // assisgn the markers to a location the map
                const marker = new tt.Marker().setLngLat(e.position).addTo(map);
                // set the popup to display the respective addresses of the position.
                const popup = new tt.Popup({ offset: popupOffset }).setHTML(
                  "<p>" + e.poi.name + "<br>" + e.address.freeformAddress +  "</p>" );
                marker.togglePopup(popup).setPopup(popup);
            });
With the above code, we’re able to loop through each result obtained from the search and display the various markers on the map. It looks something like this:
INTEGRATING THE ROUTING API
TomTom Routing API offers various services such as the Matrix Routing Service. This service calculates a matrix of route summaries for a set of routes defined with origin and destination locations. It calculates travel time and total distance traveled for each route.
For this tutorial, we’ll use Matrix Routing to find a route from the user’s location to the place they found in their search.
We’ll first use the Geolocation Web API to request access to the user’s current location, so add this code to MainLayout.vue:
created(){
  navigator.geolocation.getCurrentPosition(
      position => {
        this.lat = position.coords.latitude;
        this.lng = position.coords.longitude;
      },
      error => {
        console.log(error.message);
      }
    );
},
Now when the application loads, the app requests access to the current location so we can calculate the route later.
Next, we calculate the route using the Matrix Routing Service:
//  Using the matrix routing
    const origins = [{ point: { latitude: this.userLat, longitude: this.userLng } }] //The location of the user as starting point
    const destinations = [{ point: { latitude: this.routeLatitude, longitude: this.routeLongitude} }] // The location of the destination as final point

    await tt.services.matrixRouting({
      key: 'INSERT API KEY HERE',
      origins: origins,
      destinations: destinations,
      traffic: true, // specifying the traffic data
      travelMode: 'car' //Specifying a routing parameter
    }).then(function(routeData){
      _this.timeToDestination = (routeData.matrix[0][0].response.routeSummary.travelTimeInSeconds / 60).toFixed(2)
      _this.destinationDistance = (routeData.matrix[0][0].response.routeSummary.lengthInMeters / 1000).toFixed(2)


    })
      .catch((err) => {
        console.log(err)
        _this.errorMessage = 'Locations cannot be mapped. Try another location'
     });
      }
The function uses the start location and stop location, stored in strings.
The application stores and displays the result of the calculated distance and time:
<p> Estimated Route Distance(KM) - {{destinationDistance}}
        <br>
           Estimated Time(MINS) -  {{timeToDestination}}
    </p>
We can also specify common routing parameters to restrict the calculated path. Some parameters are optional, while others are required, such as:
- routeType specifies the type of optimization used when calculating routes. It can be fastest, shortest, thrilling, and so on. -traffic value can be true or false. -travelMode specifies the mode of travel, such as a truck, taxi, bus, or van. -vehicleMaxSpeed sets the expected speed in kilometers per hour. The value ranges from 0 to 250.
This animation shows the application in action:

You can find this application’s complete code in its GitHub repo.
NEXT STEPS
In this tutorial, we enhanced a Quasar application with a TomTom map to help users search for and calculate a route's distance. TomTom’s SDK made adding these advanced mapping functions quick and seamless.
You can add even more functions to this mapping application or create a unique application. Explore the developer portal documentation to learn how to use TomTom's various tools and start using TomTom Maps today by signing up to access your free API key.


